
Radio Install in a Porsche Boxster
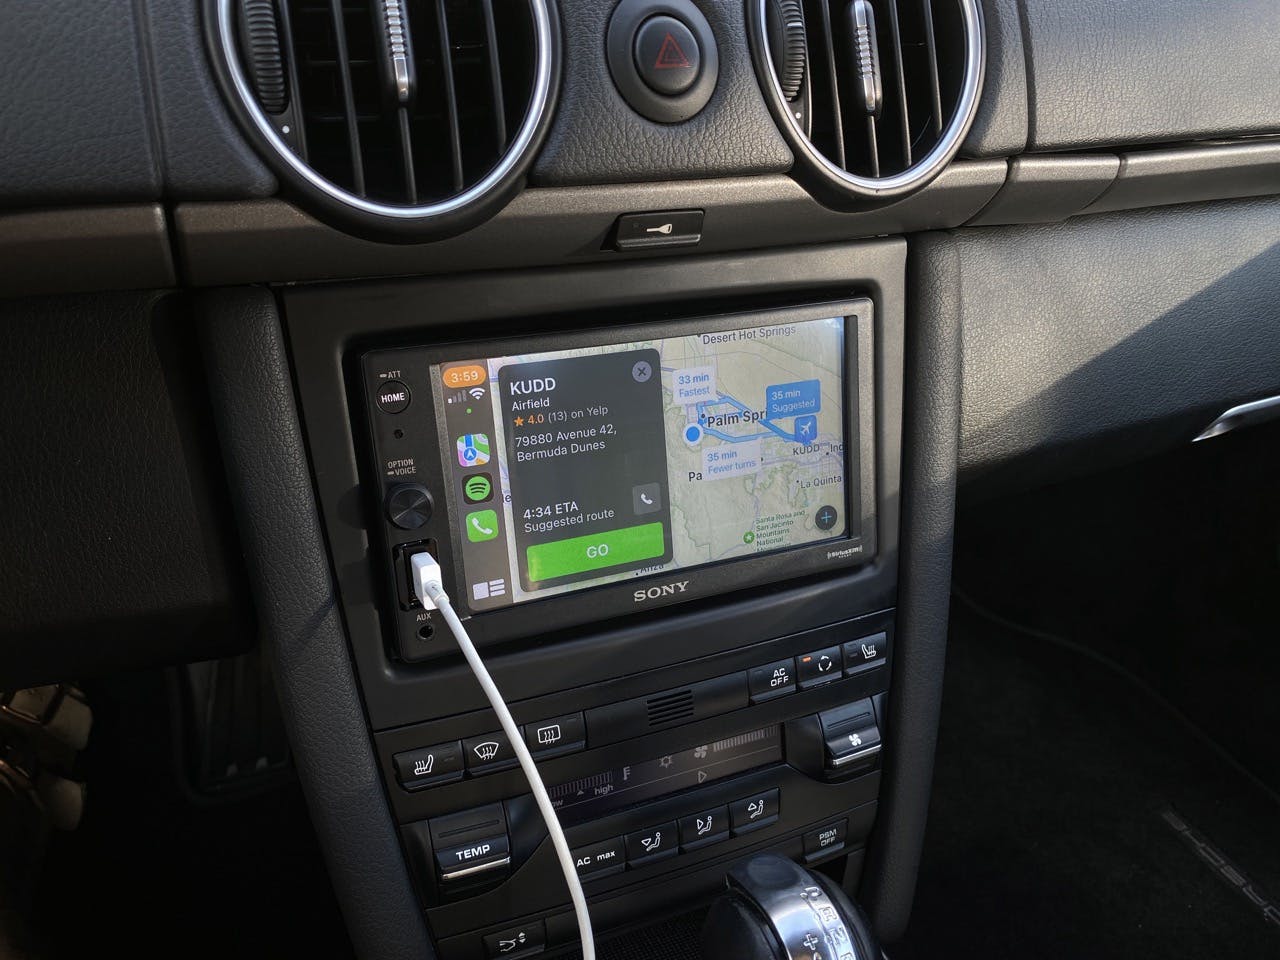
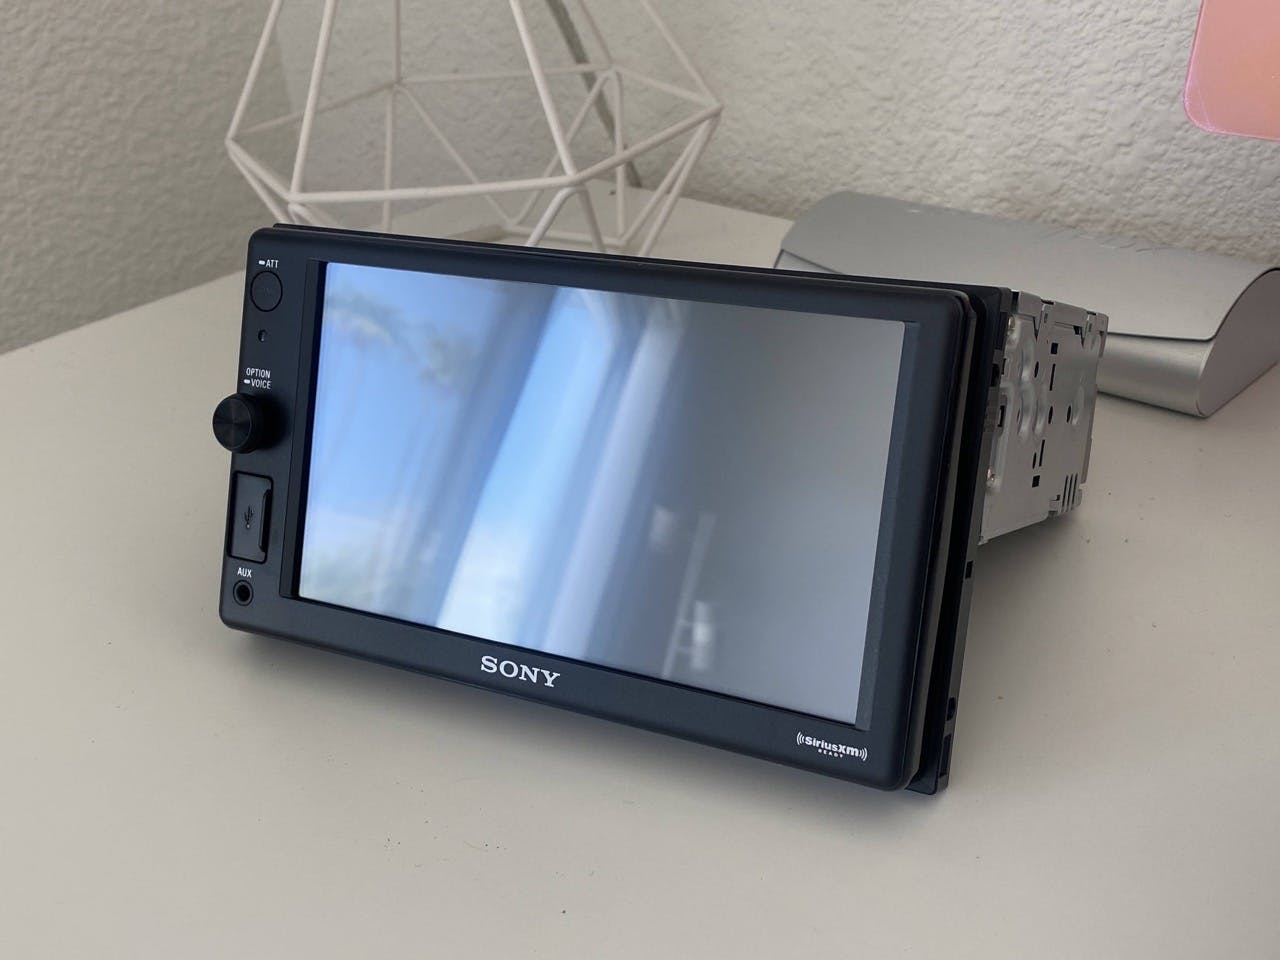
The 987.2 Porsche Boxster is one of the best values in the used sports car market today. There is so much to love about the vehicle, but the OEM headunit is not one of them. It's very dated, clunky, and doesn't support CarPlay (!), so one of the first things I did after picking up my car was purchase and install a new headunit. I selected the Sony XAV-AX1000 headunit because:
- It's one of the only aftermarket headunits with a physical volume knob
- The matte black plastic finish very closely matches my Porsche's interior
- I didn't need wireless CarPlay
- It's relatively cheap
I also picked up this dash kit from Crutchfield as well to have the install look as factory as possible. I will say that the fit is very tight (it's a friction fit) so triple check wiring before sliding this into the dash. If you do happen to get the kit stuck with the headunit in it, I've had luck freeing it with the help of a metal putty knife.
My 987.2 has the Sound Package Plus (SPP), which is the middle tier between the basic speakers and the Bose speakers (which are much more difficult to connect). The connector I needed as a result was the Metra 70-9003 harness. The connector may come with a fuse tap, but I opted to just use a separately purcahsed unit that fit well in the fuse box without needing to drill any holes. Note that the Metra 70-9003 harness may not work with the base package.
Other supplies needed:
- Electrical tape
- Assorted t-taps
- Assorted spade connectors
- Low-profile fuse tap
- Metra 70-1787 harness (seperate from the Metra 70-9003 harness, this is just a donor for the RCA cables)
- Stranded red wire (used to connect power from fuse tap to headunit)
- Banana plug adapter for connecing SiriusXM
Tools needed:
- Heat gun/heat shrink
- Screwdriver set
- Soldering iron/solder
- Wire strippers
- Scissors
Also of note that my Porsche did not come equipped with steering wheel controls. If you vehicle does have steering wheel controls, you may need to purchase extra materials in order to get those to work, if so desired.
The first thing I did was assemble the headunit inside of the dash kit and set it aside on my desk. The screws that come with the dash kit don't work great but seem to be able to self-tap into the headunit. Just sure you screw them in flush, otherwise the unit won't fit in the vehicle.
Next, it's time to wire the Metra harness. You can view Crutchfield's wiring diagram here. Next, you can splice the donor RCA cables from the 70-1787 harness with the speaker wires in the 70-9003 harness. Using your wire strippers, remove the outer layer of shielding from the RCA cables, exposing the positive wire and the stranded negative wire. Twist the stranded wire together and put the heat shrink tube over the cable. Solder the positive wire to the 70-9003 harness positive wire and solder the negative wire to the 70-9003 negative wire for the same speaker. Wrap each connection tightly with electrical tape, slide the heat shrink over the connections, and use your heat gun to set. Repeat this for the three other pairs of speakers.
Moving on to the install, removal of the headunit in the 987.2 is straightfoward, only requiring the removal of a few screws. This YouTube video explains it well. I reccommend disconnecting your battery first if possible, as you should do whenever working with your car's electrical system. Be delicate as the OEM headunit is still valuable and you may want to swap it back before selling your vehicle.
You can now remove the trim around the fuse compartment and tap the fuse; I used C6 as it turns on and off with the ignition. Crimp a length of the stranded red wire to the tapped fuse connector and snake it through to the headunit area. I had the wire rest on the trim below the steering wheel and it hasn't caused any issues. Re-attach the fusebox surrounding trim and use a spade connector to attach the fuse tap wire to the power input for the headunit. I wrapped the connection with electrical tape to prevent shorts.
At this point you may want to tap the parking lights in order to control automatic dimming of the headunit. I did not do that during my install, so you'll need to look at a diagram to see what color to look out for. I will note, however, that you are able to easily manually dim the display in the settings.
Now, plug the RCA connectors into the respective pre-amp outputs on the headunit to connect the speakers. When you disconnected the original factory headunit, there was a twelve-pin blue connector. The pink wire with the red stripe powers the vehicle's amplifier (under passenger seat in SPP-equipped vehicles). I used the "Remote Out" wire in the new headunit to power both the amp as well as the powered AM/FM radio antenna. Use t-taps to connect both the red and white striped wire and the powered antenna wire (thicker, solid blue wire in the main harness). At this point you can also connect the SiriusXM adapter if your vehicle is equipped.
Finally, after you've checked all of your connections you can (carefully!) slide your headunit into place, reconnect the battery, and test it out! If you are noticing a fair amount of feedback, you can optionally add an inline ground loop isolator between the pre-amp output and your harness to reduce some of the interference.
Enjoy your new radio and feel free to email me and I can try and answer any questions you may have.
Please note I am not an expert at this and am not responsible for the safety of yourself or and damage to your vehicle, the headunit, etc.